Running Molflow on MacOS
Introduction
To install MolFlow on a Mac, you have to go through the following steps:
- Download and extract MolFlow
- Install Homebrew
- Get Homebrew packages
- Make MolFlow executable
- Run MolFlow
Instructions
In the instructions below, ignore line breaks, all Terminal commands are to be pasted in a single line.
- Download the latest Mac version in zip format from this site and extract it somewhere. In this example I'll extract it to
Desktopin the user folder. -
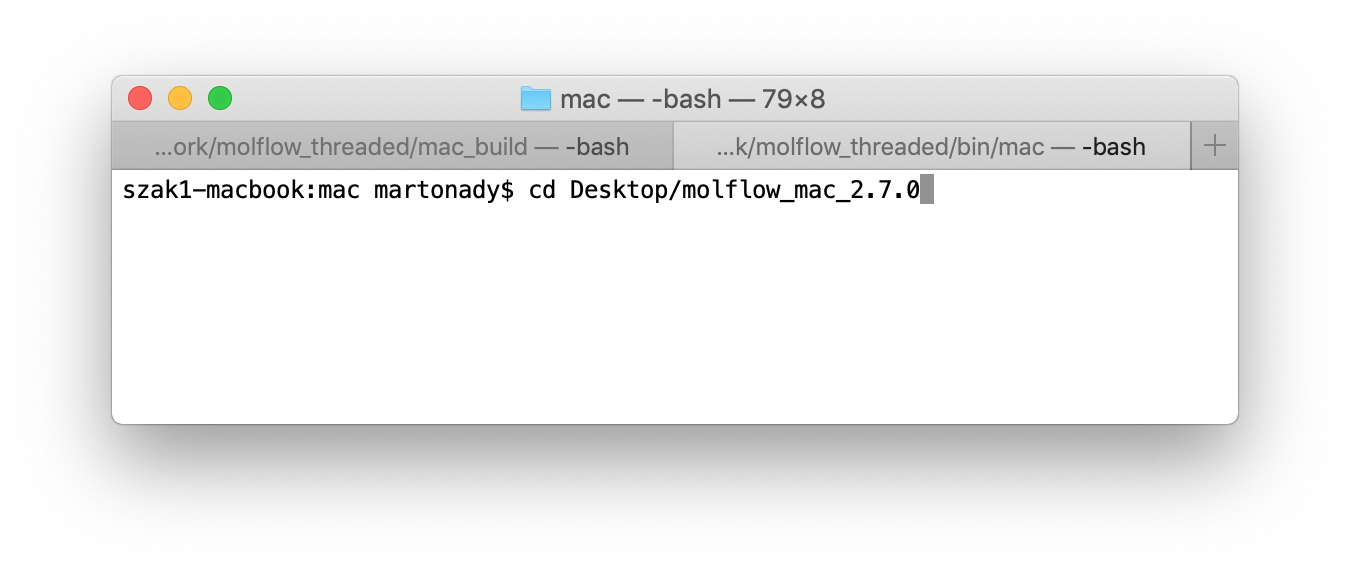
Open a Terminal and navigate to where Molflow is.
(Press Command+SPACE to open spotlight, typeterminaland press ENTER). Typecd ~/Desktop/molflow_mac_2.9.25to change to that folder (replace with actual path and version number). You can use the TAB key to autocomplete directory names.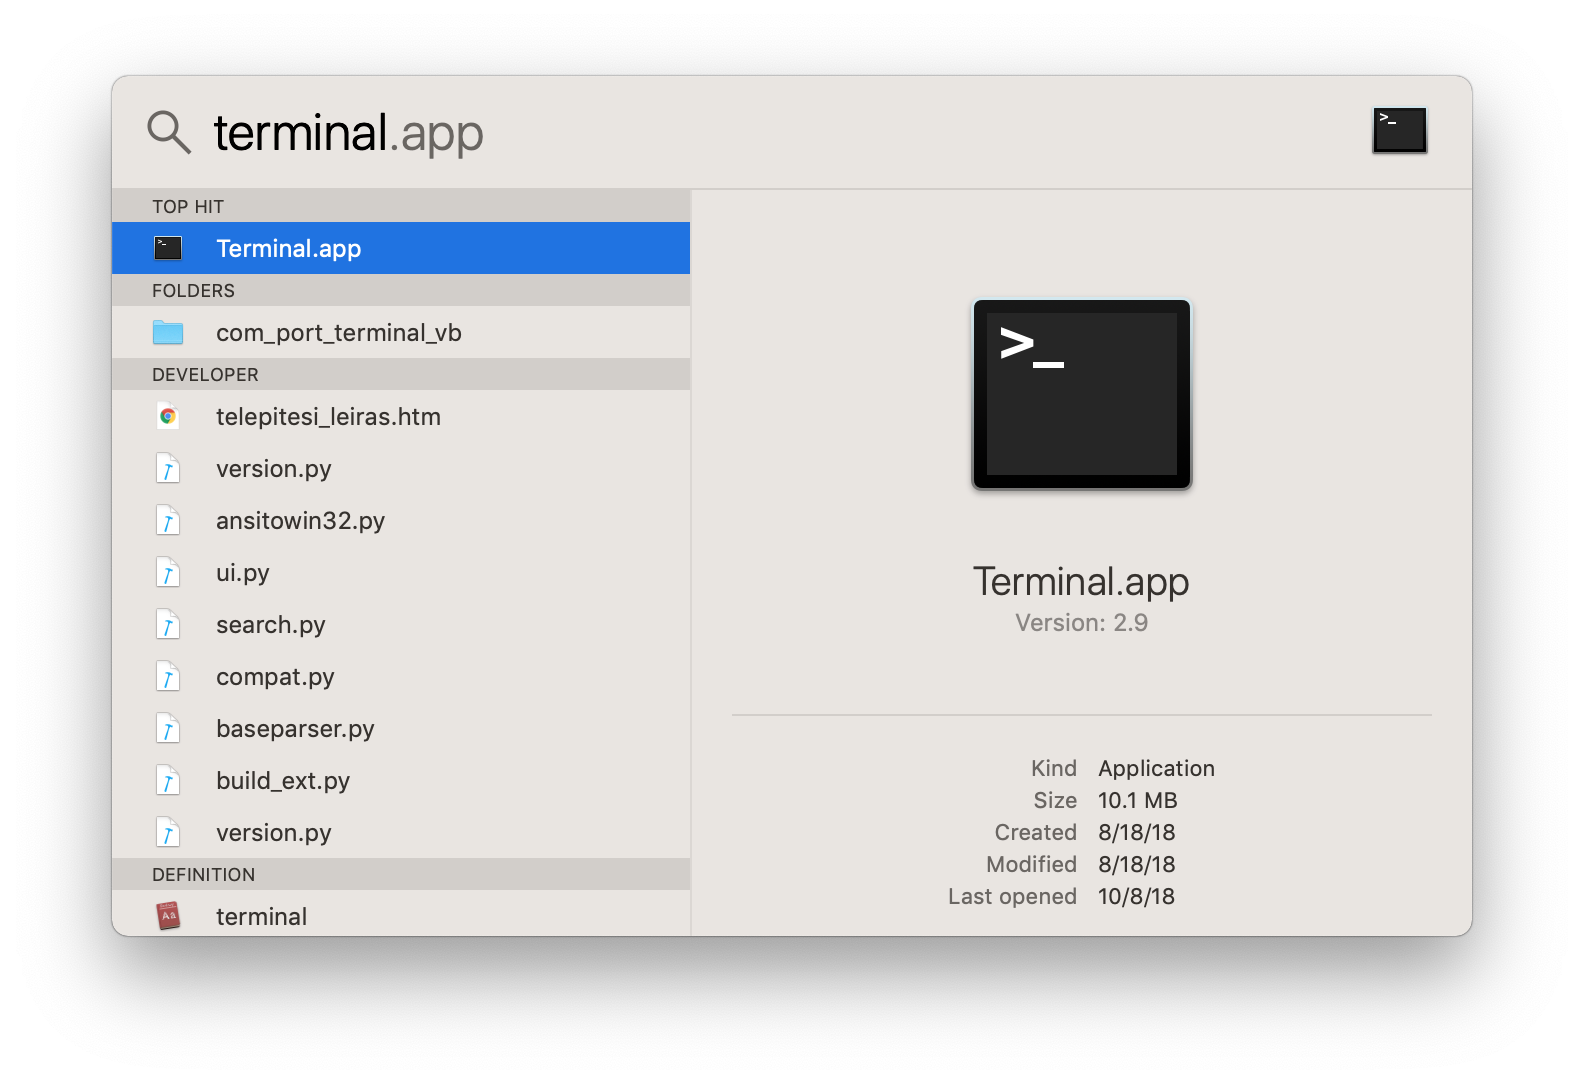
-
Paste and run the following command to install Homebrew:
/bin/bash -c "$(curl -fsSL https://raw.githubusercontent.com/Homebrew/install/HEAD/install.sh)"You'll have to type your password and it will take 15-20 seconds to install. In the Mac terminal you can paste with Command+V
In case of errors, check if maybe the command has changed on the project's website.
-
Paste and run the following to install packages:
brew install p7zip libomp- this installs the OpenMP and 7-zip compression libraries -
Make MolFlow, its worker process and its 7-zip compressor tools executable:
chmod +x molflow molflowCLI compressTip
-
in MolFlow 2.7.8 and earlier, you had to make 7za executable as well:
chmod +x molflow compress 7za -
in MolFlow 2.8,
molflowCLIwas calledmolflowSub -
Since MolFlow 2.9.24,
gslis not required -
Earlier MolFlow versions also used
sdl2 libpng gsl gccbrew packages
-
-
That's it! Launch MolFlow by typing
./molflowin the terminal, or by opening the MolFlow folder in Finder and double-clicking on themolflowfile which by now is executable.
This has been tested to work on a Macbook Pro and MacBook Air running MacOS Sequoia. Note that on Mac, the ALT key of the Windows/Linux versions has been remapped to the Mac command key, and the mouse wheel was inverted. Report if you run into problems!
Common problems
When launching MolFlow for the first time, you will likely receive a warning concerning the unverified identity of the developer:

Go to System Preferences -> Security & Privacy -> General and click on Open Anyway:
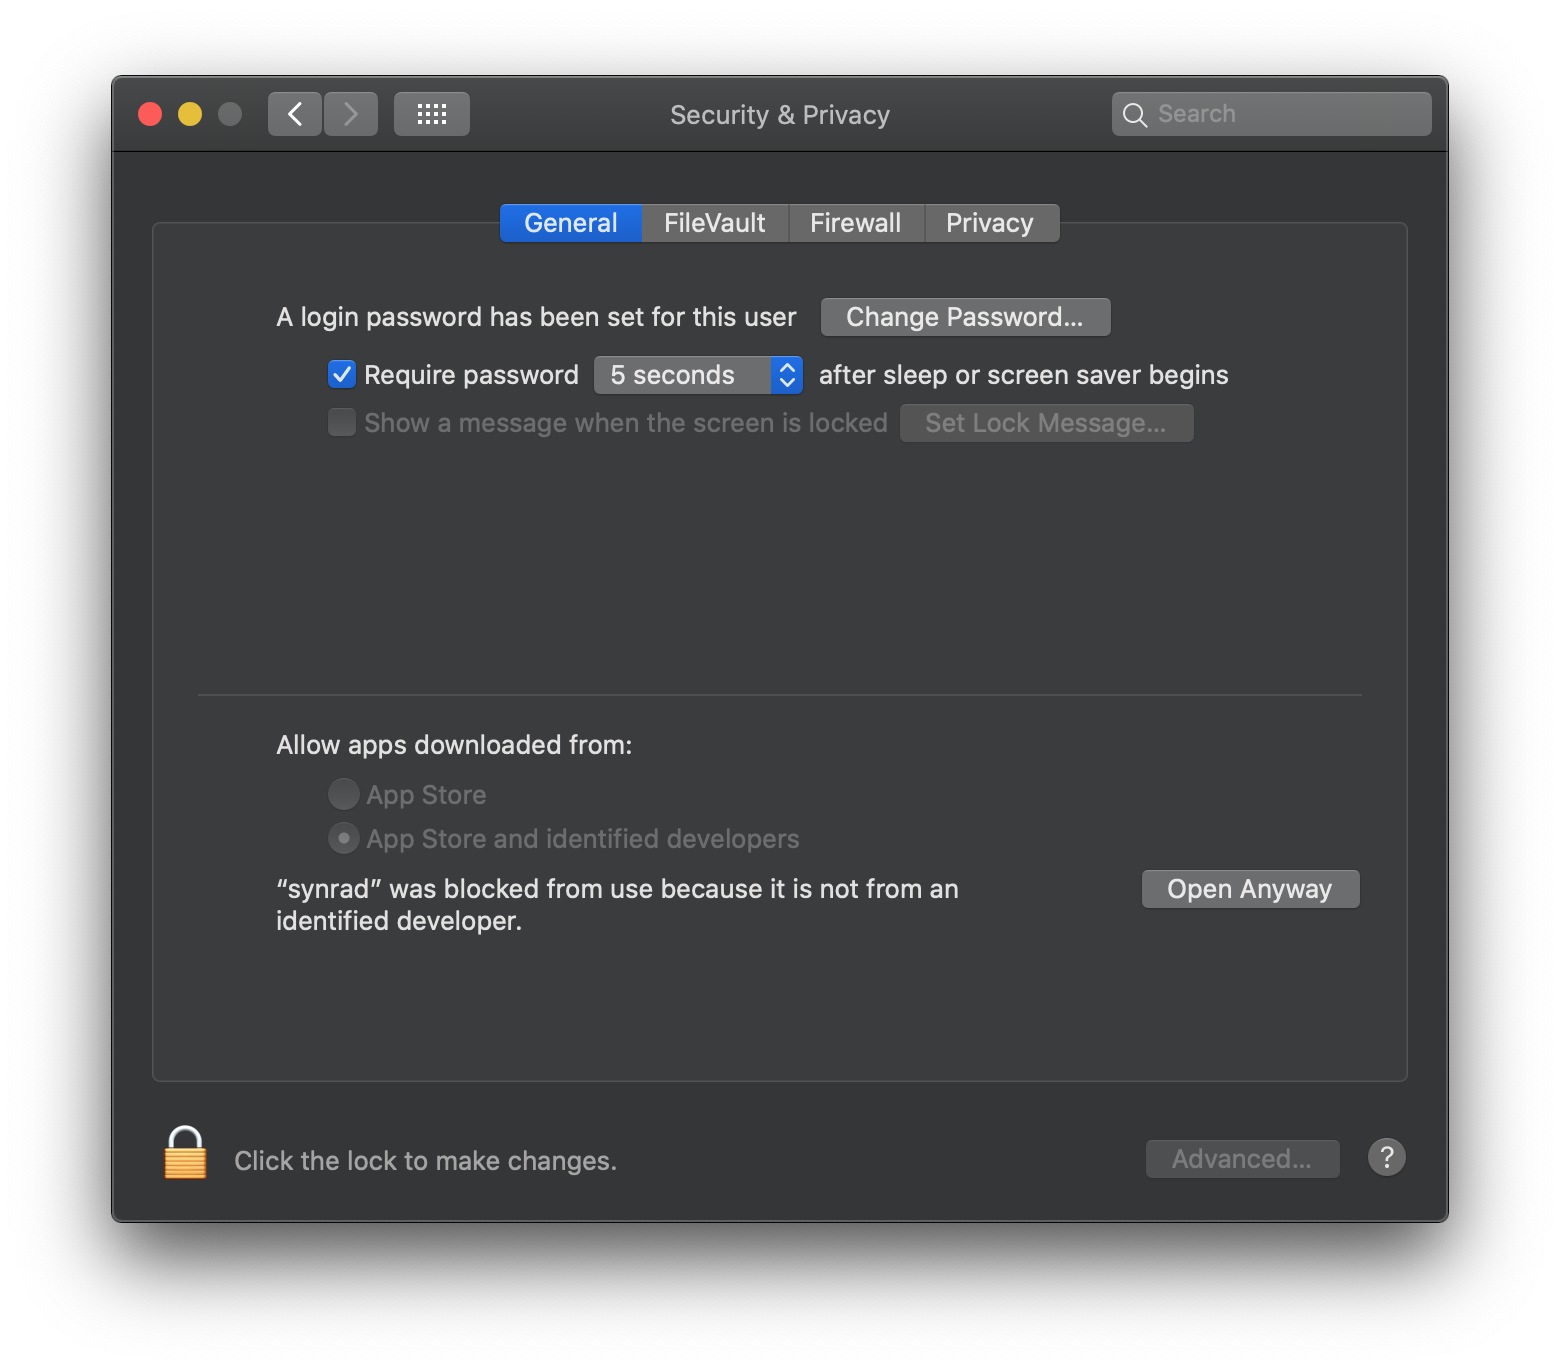
Afterwards you can run Molflow normally.
Uninstall
- Simply delete MolFlow's folder
- Optional: Uninstall Homebrew and its packages by pasting the
/bin/bash -c "$(curl -fsSL https://raw.githubusercontent.com/Homebrew/install/HEAD/uninstall.sh)"command to the terminal.
FAQ
Why does it have to be so difficult?
As a Mac user you're probably used to either the App Store, or ready-built dmg packages where you drag a colorful icon to the Applications folder and just run it. This works with most applications either developed exclusively for Mac, or maintained by larger teams that can afford the effort to develop for the Apple ecosystem.
Molflow runs on Windows, Linux and Mac using exactly the same, standard C++ code. The idea is to ignore built-in package managers, app stores and update mechanisms, and publish exactly the same program for all platforms. That way I don't need to register an Apple developer account, I don't need verification by Apple or digital signatures, and I can provide my own updater mechanism that downloads and installs new versions automatically.
What is Homebrew?
The good news is that Mac OS is a fully Unix-compliant operating system, so in theory anything running on Linux can be ported to it.
The bad news is that many standard tools, like a C compiler, package manager, X11 renderer and other linux stuff are missing from it, because Apple decided that you don't really need them (just use the App Store).
Now, the open source community fixed this by writing Homebrew, a package manager that installs, as the website says, "stuff you need that Apple didn't". Don't be scared of it, it doesn't change the way your Mac works, just downloads and extracts stuff in your /usr/local folder, and it can be uninstalled completely. We'll use it to get some packages that Molflow uses.
What packages does Molflow need?
- The SDL2 framework that creates an OpenGL context for the main window, captures mouse and keyboard events and handles tasks like copying and pasting from the clipboard
- LibPNG to load icons and fonts, and to save screenshots in PNG format
- The GNU Scientific library to generate random numbers (not anymore since MolFlow 2.9.24)
- The C standard library, included in the GCC package to run modern applicaitons written in C++17
- The P7Zip project, a MacOS port of 7-zip
- LibOMP, and OpenMP library allowing parallel calculations
Why didn't you just include these packages?
In short, because it would do more harm than good.
See, in Windows, packages can be statically linked (included in the exe file) or dynamically linked (included in a dll file). Windows very rarely makes breaking changes, the last time the binaries were changed was the transition from XP to Vista in 2007. On the other hand, when Molflow became 64-bit in 2014 all libraries had to be changed.
In the Unix/Linux world, things are different. Mac OS makes major upgrades every year, for example in Mac OS Mojave OpenGL is declared deprecated, and Mac OS 10.15 is expected to drop 32-bit support whatsoever. In the Linux world, many flavors of Linux are not compatible with each other. To save developers from chaos, maintainers of these distributions provide most packages for each version of the operating system, and programs such as Molflow simply reference them. It provides compatibility with future versions, but - as opposed to Windows where you just put some DLLs in the orgram folder - you have to get these packages yourself.
What does it mean to make MolFlow executable?
In Windows you can double-click and run exe files.
In Linux and Mac OS, any file, regardless of extension, can be executable. Now this could be a security concern, since one could send you a safe-looking file called bunny.jpg but it would in reality erase all your files or launch a never-ending Monte Carlo simulation :) Therefore you have to explicitly mark files to execute after downloading. You need to do it only once for MolFlow (except when the updater gets you a newer version).